Showing posts with label Sale-a-bration 2013. Show all posts

Friday, March 29, 2013

Summer Silhouettes Birthday

I CASE'd this card from one found on Pinterest, and while I loved the simplicity of it, it just seemed to be missing something when I made it.  I am going to try it again with the leaves from the stamp set, and maybe 2 flowers. 

Stamps:  Summer Silhouettes, Made for You
Inks:  Marina Mist, Lucky Limeade
Paper:  Marina Mist, Whisper White
Other:  Paper Piercing Kit, Marina Mist 3/8 inch Striped Organdy Ribbon from Sale-a-bration, Glue Dot

Tuesday, March 26, 2013

Box Tutorial

A while back, I made this box, following a tutorial.  When I tried to follow the link to the instructions, it no longer worked.  So I figured out how I originally made that box, and created this tutorial for you!

For the box:
  • Begin with two 8 1/2 x 11 inch pieces of cardstock. 
  • Place the cardstock on the scoreboard vertically; the 8 1/2 side should be across the top of the board.  Score at 3 3/4 inch.
  • Turn your paper so it is now horizontal; the 11 inch side should be across the top.  Score at 5 3/4 inch and 9 1/2 inch.  
  • Use your bone folder to crease on all score lines.  
  • You will now cut out the smallest rectangle, as shown in the picture.  
  •  Also cut up on the other side of the "square" section to form the bottom of the box.
  • You now have two sections that will form the box.  If you would like to stamp or decorate, now is the time to do that!  I adhered a 12 x 2 inch strip of DSP around both sections, as shown. Be sure to decorate the sides that will be the outside, visible parts!
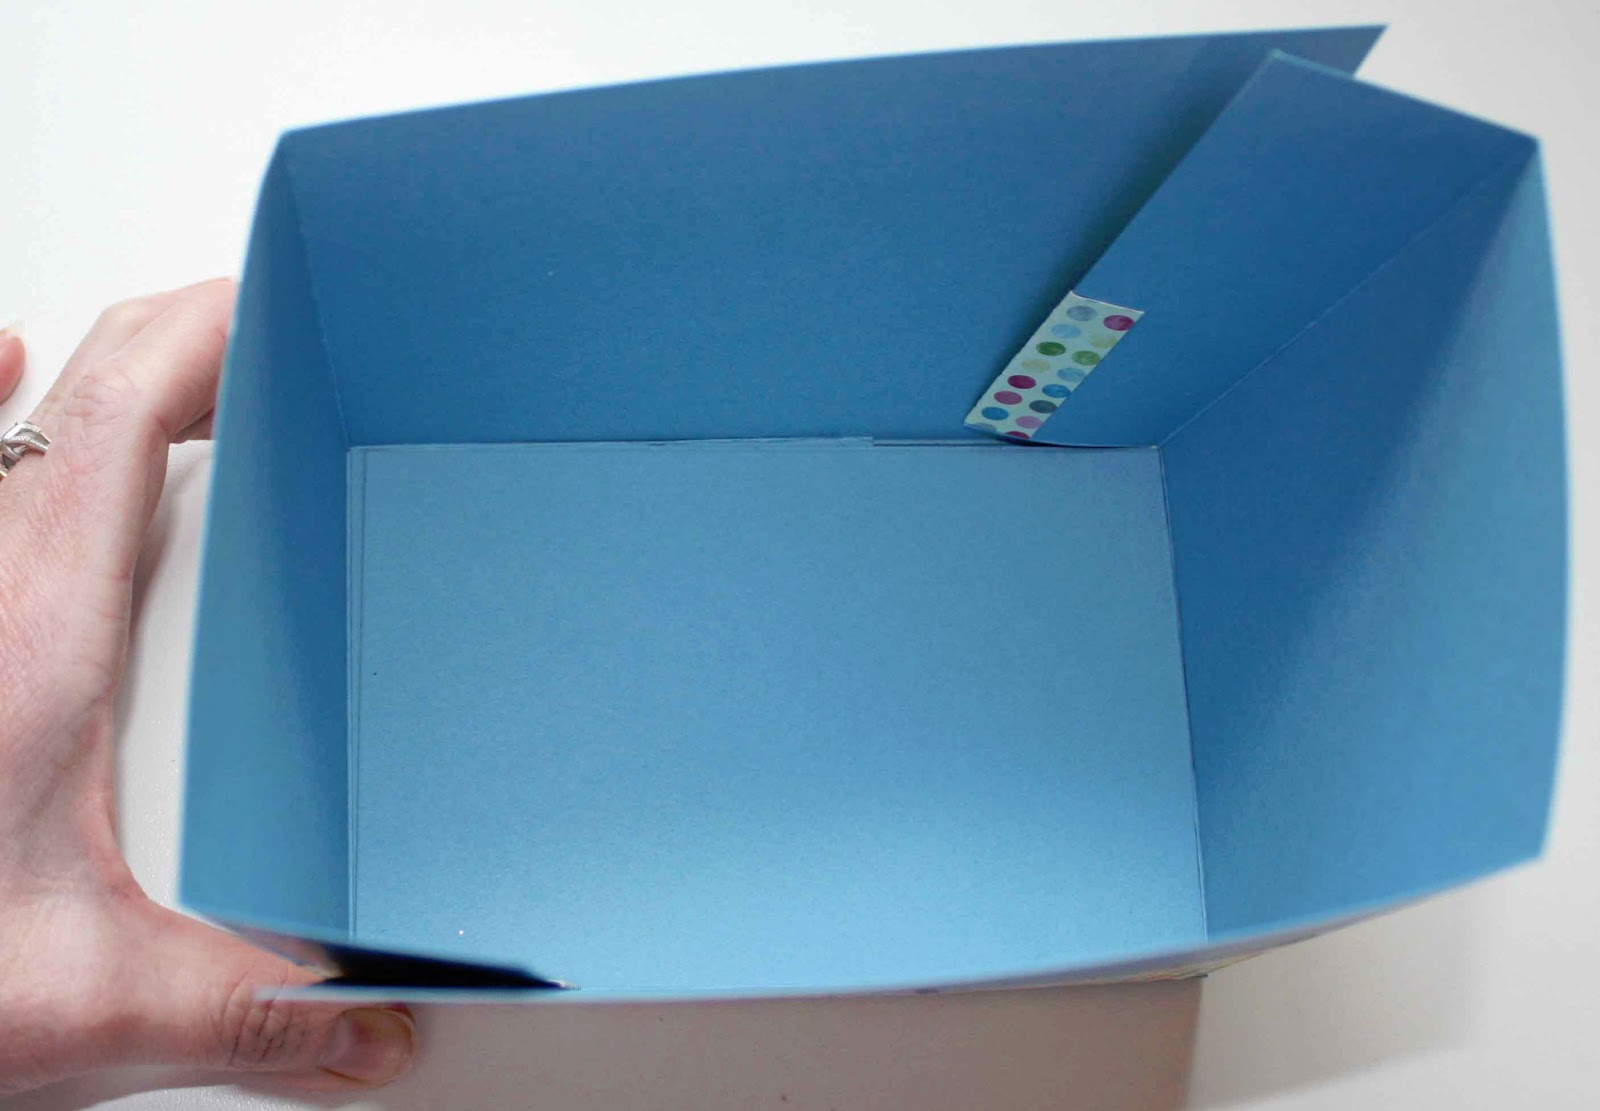
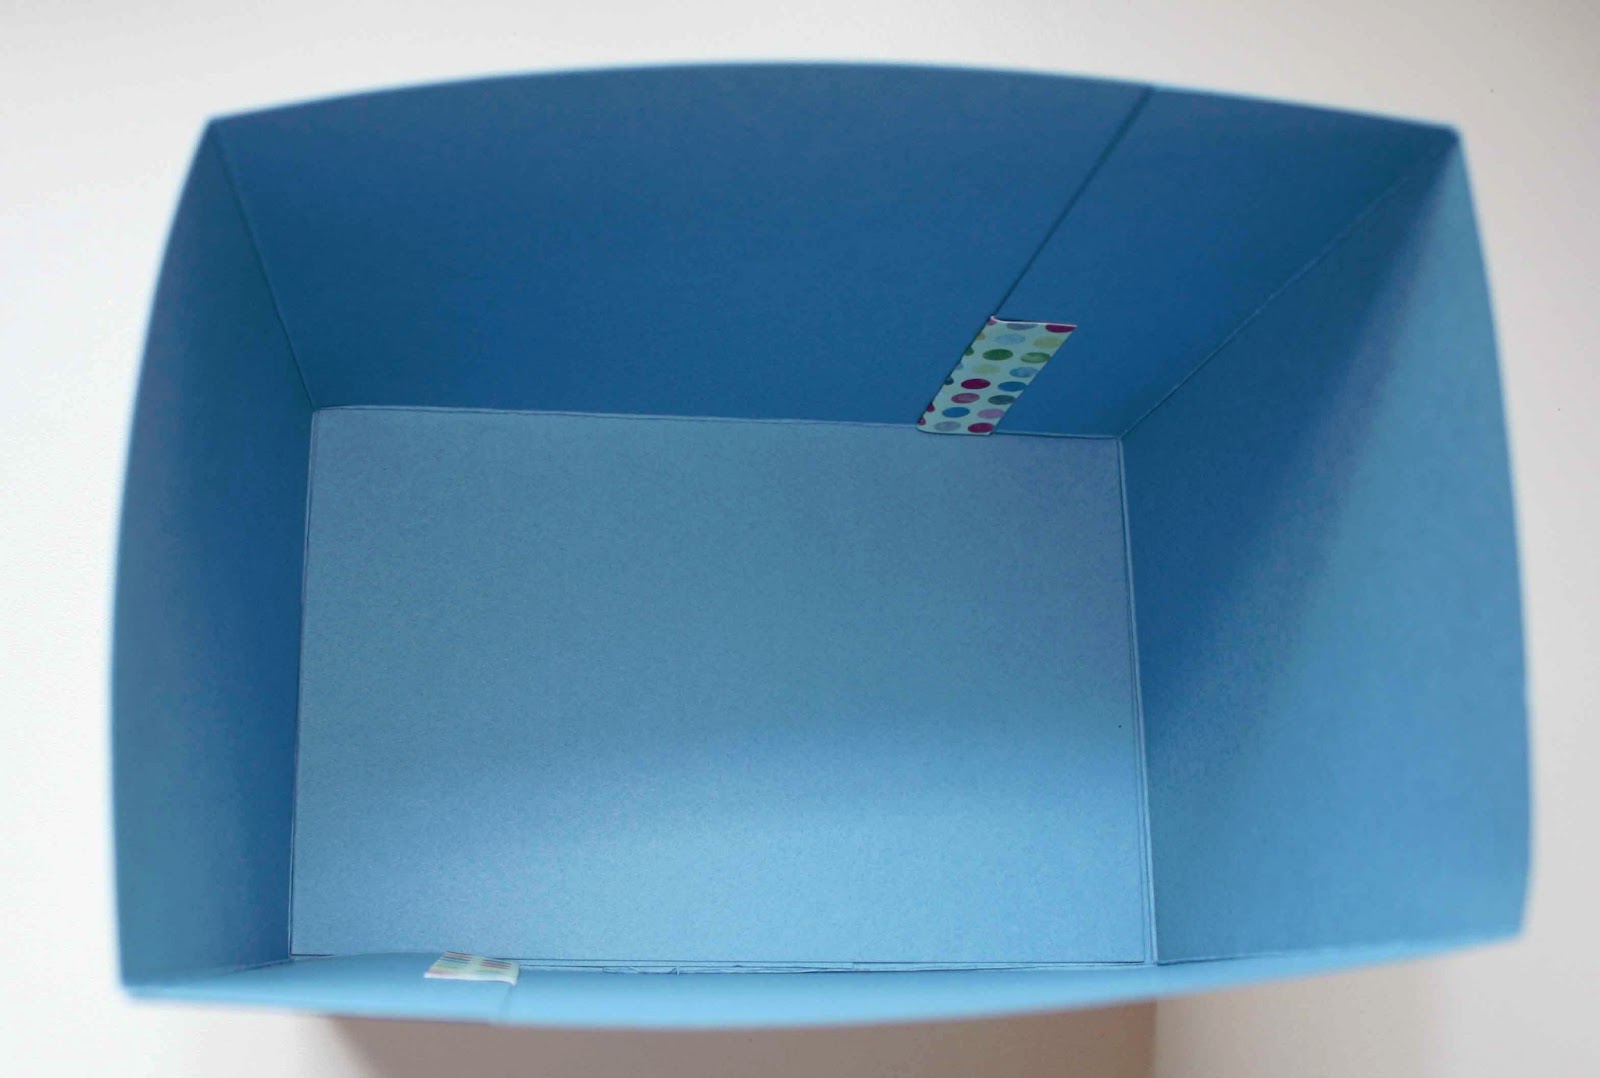
  •  To assemble the box, you will adhere one square section ON TOP OF the longer, rectangle section of the bottom, as shown.  On the other piece, you will adhere the square section to the BOTTOM of the longer rectangle.  When you put the two parts together, the squares will not be seen.  

  • Apply your adhesive to the sections that will adhere the side walls on both pieces.  I find it easiest to use the edge of a counter, as shown.  If you are using sticky strip, you could also do this prior to adhering the bottom sections, but I am using my ATG adhesive.
  •  Carefully position the two part together, making sure the sticky parts of the sides go INSIDE the box.  I put the bottom section together first, then fold in the sides.  After getting everything positioned correctly, firmly press all sides to ensure they are completely adhered together.


  • Cut a 24 inch piece of ribbon.  I apply sticky tape to the box, except in the very front where the two sides will meet to make a bow.
  • Start at the back of the box with the middle of the ribbon and adhere the ribbon to the box.  Tie the bow in front. 
  • Your box is now complete, onto the lid! 
For the lid (Note that these are pictures of a different box lid, but the directions are the same!!):
  • Cut the cardstock to 7 15/16 inches x 5 3/4 inches.
  • Score at 1 inch on all four sides. 
  • See the four squares you now have on each corner?  Cut on one of those lines to create the tabs.
  • Fold on all score lines.
  • If you want to decorate your box, now is the easiest time to do so.   
  •  Put sticky strip on all of the tabs and start folding/adhering your corners.
  • You now have your lid created!


I would love to see what boxes you create, so if you post some pictures, leave me a comment telling me where to see them!

Saturday, January 26, 2013

Sale-a-bration Card is Bloomin' Marvelous


This card is a contrast to my current weather; outside, we are in the midst of a snowstorm, while inside springtime flowers are blooming on this card!   This stamp set is called Bloomin' Marvelous and is one of the sets you can get for FREE with a $50 purchase during Sale-a-bration.

Stamps:  Bloomin' Marvelous
Ink:  Rose Red, Bashful Blue, Wild Wasabi
Paper:  Rose Red, Bashful Blue, Whisper White
Other:  baker's twine, Vintage Faceted Designer Button, glue dot

Tuesday, January 22, 2013

Sale-a-bration Starts Today!

It's the greatest sale for Stampin' Up! customers--Sale-a-bration!  Here are the details you need to know:
  • Spend $50 (before tax and shipping), and choose a FREE product from the Sale-a-bration brochure.  
  • The FREE products keep adding up; for every $50 you spend, you choose a FREE product.  For example, spend $100, choose 2 FREE products.  
  • Spend $150, choose 3 FREE products, PLUS you get a FREE pack of silver glimmer paper to help us celebrate our silver anniversary, PLUS get $25 in Hostess Dollars to choose even more FREE products! 
  • Host a workshop with $400 in sales (or spend that much yourself), and you get the FREE silver glimmer paper, PLUS a free product bundle (stamp set, ribbon, buttons, designer series paper), PLUS $65 Hostess Dollars, PLUS 50% off any full priced item. 
  • Join my team during Sale-a-bration and you can choose 25% more!  Pay only $99 and choose $156.50 worth of products!  Not to mention you would be getting all of the great benefits that come with being my team member! 
What are you waiting for?  Get shopping now!