

For the box:
- Begin with two 8 1/2 x 11 inch pieces of cardstock.
- Place the cardstock on the scoreboard vertically; the 8 1/2 side should be across the top of the board. Score at 3 3/4 inch.
- Turn your paper so it is now horizontal; the 11 inch side should be across the top. Score at 5 3/4 inch and 9 1/2 inch.
- Use your bone folder to crease on all score lines.
- You will now cut out the smallest rectangle, as shown in the picture.

- Also cut up on the other side of the "square" section to form the bottom of the box.
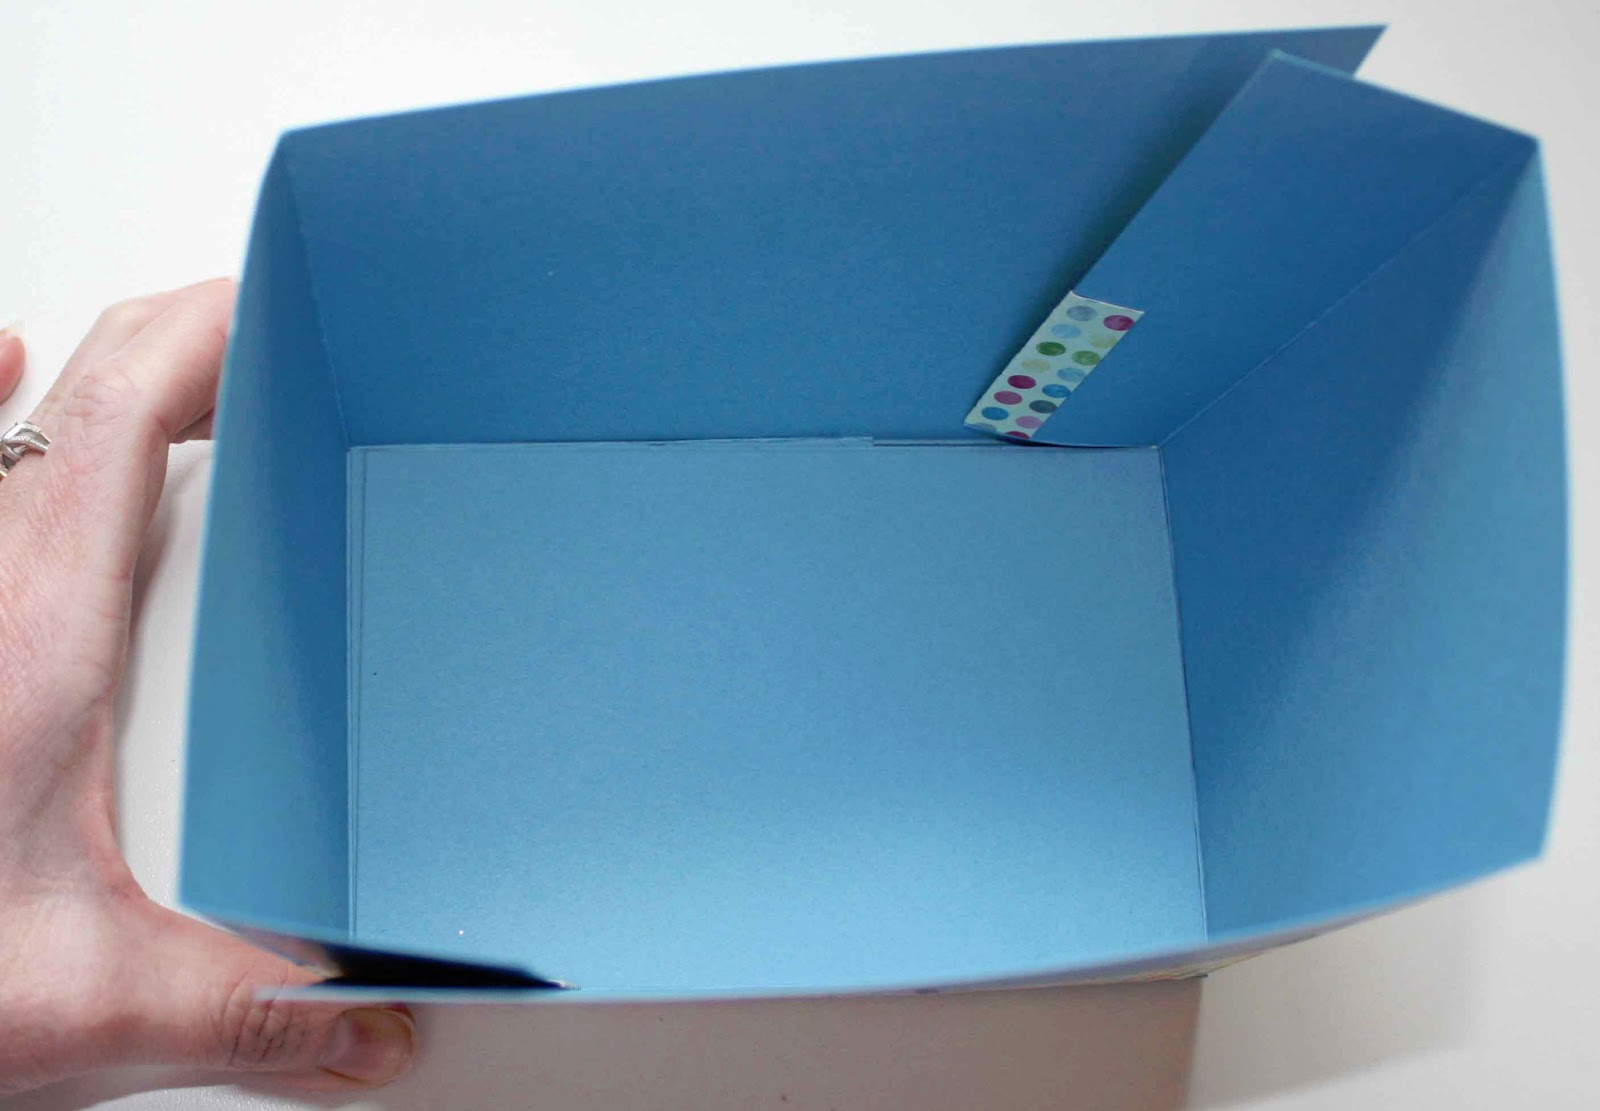
- You now have two sections that will form the box. If you would like to stamp or decorate, now is the time to do that! I adhered a 12 x 2 inch strip of DSP around both sections, as shown. Be sure to decorate the sides that will be the outside, visible parts!


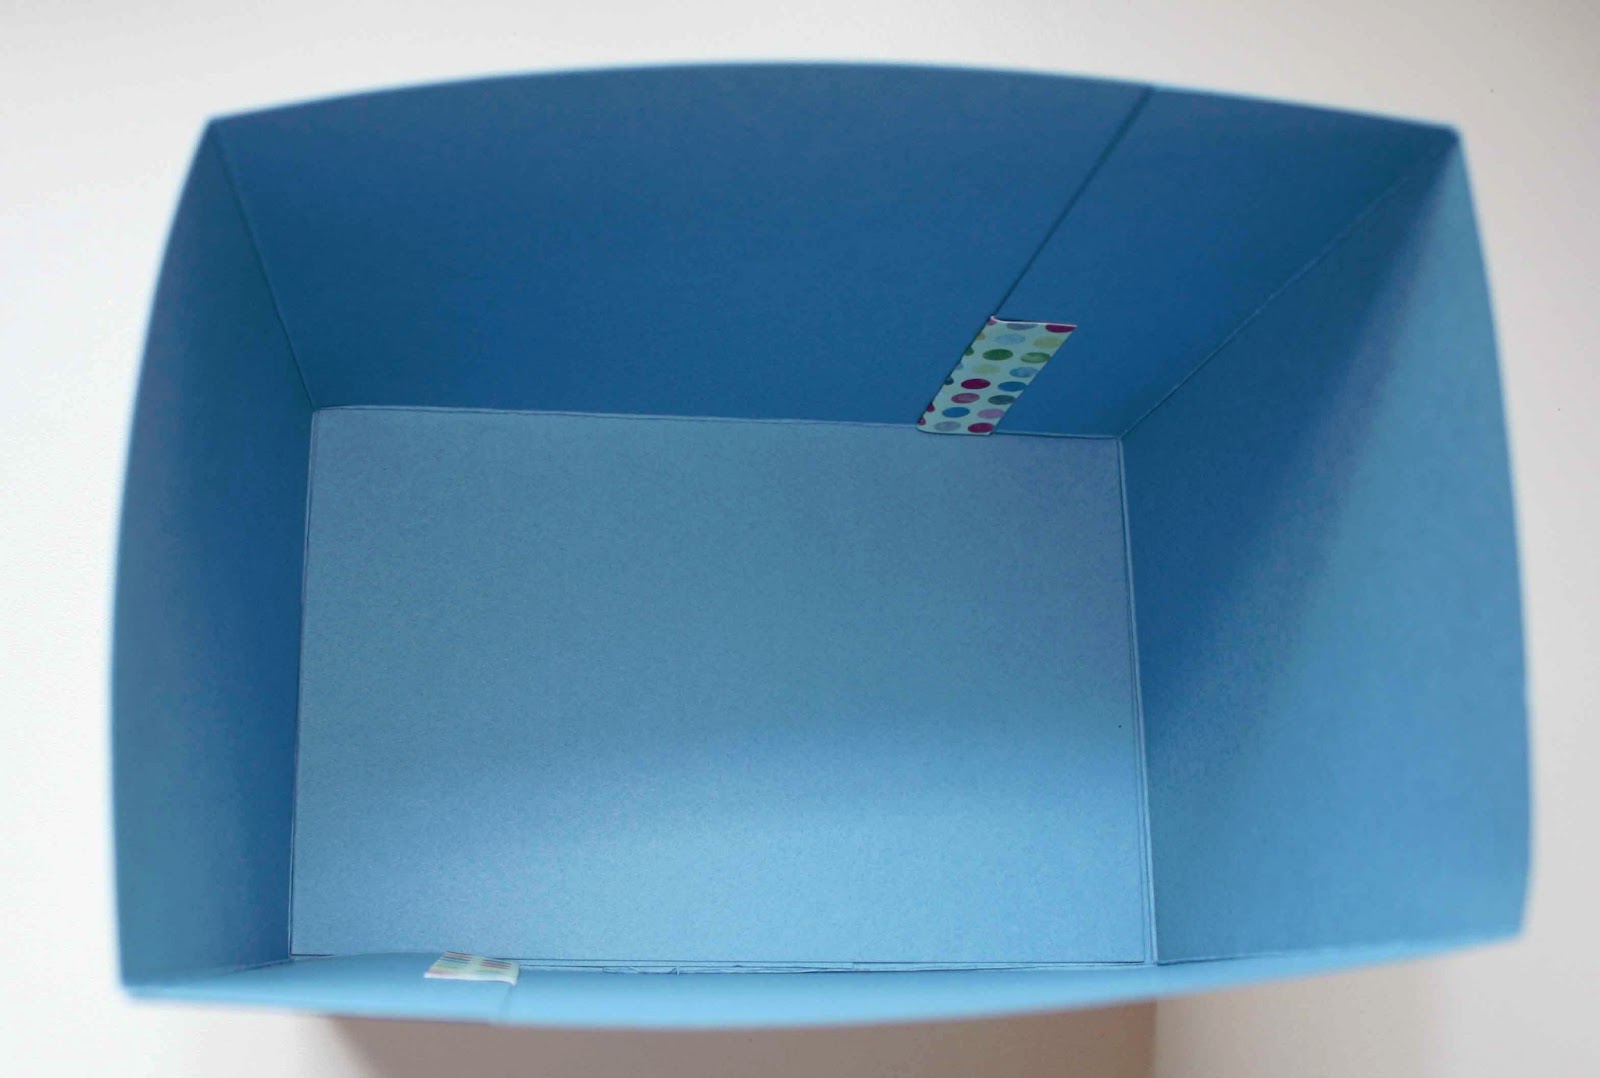
- To assemble the box, you will adhere one square section ON TOP OF the longer, rectangle section of the bottom, as shown. On the other piece, you will adhere the square section to the BOTTOM of the longer rectangle. When you put the two parts together, the squares will not be seen.

- Apply your adhesive to the sections that will adhere the side walls on both pieces. I find it easiest to use the edge of a counter, as shown. If you are using sticky strip, you could also do this prior to adhering the bottom sections, but I am using my ATG adhesive.


- Carefully position the two part together, making sure the sticky parts of the sides go INSIDE the box. I put the bottom section together first, then fold in the sides. After getting everything positioned correctly, firmly press all sides to ensure they are completely adhered together.
- Cut a 24 inch piece of ribbon. I apply sticky tape to the box, except in the very front where the two sides will meet to make a bow.

- Start at the back of the box with the middle of the ribbon and adhere the ribbon to the box. Tie the bow in front.
- Your box is now complete, onto the lid!
- Cut the cardstock to 7 15/16 inches x 5 3/4 inches.
- Score at 1 inch on all four sides.
- See the four squares you now have on each corner? Cut on one of those lines to create the tabs.

- Fold on all score lines.
- If you want to decorate your box, now is the easiest time to do so.

- Put sticky strip on all of the tabs and start folding/adhering your corners.
- You now have your lid created!


No comments:
Post a Comment